Wednesday 20 June 2012

Satnavs have their limitations!

A few pics from my ride to Aberdaron in Wales yesterday. Overall, it was a fabulous day for a bike trip, although the morning was cold and cloudy going through the Welsh hills..it brightened up later and actually turned very warm.


Welsh hills, B4407


View over Aberdaron

The road into Aberdaron

Cafe in Aberdaron

The beach at Aberdaron..not exactly packed!

I love using the satnav, but sometimes a paper map would be far more useful. The problem is you can't easily get an overview of where you're heading or where you've been (and when the sun's out, I can't see the screen at all, so I rely entirely on the voice commands from it) ...and the problem with North Wales is that there are only a few roads through the mountains. On the way back, I wanted to take a shorter route east via Wrexham, but I missed a (what turned out to be vital) turning onto a minor B road (B4410), and the satnav then took me north again on a second scenic tour of Snowdonia..at one point I was working my way up the side of a mountain, then round a couple of enormous lakes, and eventually found myself twenty miles further away from home! The views were spectacular, and I can really recommend driving this route (unless you have a wide car or mobile home, then it would be a nightmare):

A498 (with a bit of the A4085 in the middle), north from Tremadog to Pen-y-Gwryd Hotel, where it meets the A4086. Then right on A4086 to Capel Curig. Right on the A5 to Betws-y-coed, and left on A470 to Llanrwst. Finally, right on the A548 to Abergele.

Due to this massive detour, the return trip ended up being 180 miles instead of the 120 I'd planned. Oh well, it was great fun, although my wrists and bum were killing me after 300 miles in the saddle in one day, much of it along twisting, bumpy roads, some of them covered in treacherous gravel..I probably spent half an hour by the sea and eight hours on the bike. But that's the thing I've learned about biking; it's the getting there that counts, because often, there's no time left to enjoy the destination!

Much as I enjoyed this day out, I don't think I'll be doing it very often..I just worked out it cost me around £41 just in petrol...gulp. On the plus side, I found a pound coin in the car park.

Sunday 10 June 2012

One little pot I forgot

I meant to include this one in my post on Friday..a small vase with three layers of slip and the lower-temperature ash glaze (cone 8 with a 45 minute soak this time). I was pleased that the top layer of decoration has stayed quite solid and crisp. I think that was the high-iron slip..

Vase, approx 3 inches tall

Add caption
Interesting that some of the white slip is showing through the dark brown, not something I'd expected. There is a bit of yellowing in the glaze where the ash content is higher..I'm not entirely sure it's an attractive feature, but that's the colour ash turns in an electric firing.

The ash I used in this glaze was primarily oak..it had been washed, but the resulting glaze wasn't passed through an 80s mesh sieve. The previous time, I sieved it, and noticed that a large amount of ash wouldn't pass through the mesh. Without sieving, you end up with various sizes of particles, and the larger ones sink to the bottom very rapidly..so you tend to get different concentrations of ash depending on how much is picked up by the glaze brush.

Friday 8 June 2012

Some more work from the last firing

I'm just getting round to photographing all the pieces from the last firing. I have to say that although I enjoy taking pictures of pots, it is ridiculously time-consuming, as I don't have a permanent studio set-up. That's why some of my pictures are taken outside on the patio, if it's not too rainy, cloudy, sunny, windy etc..

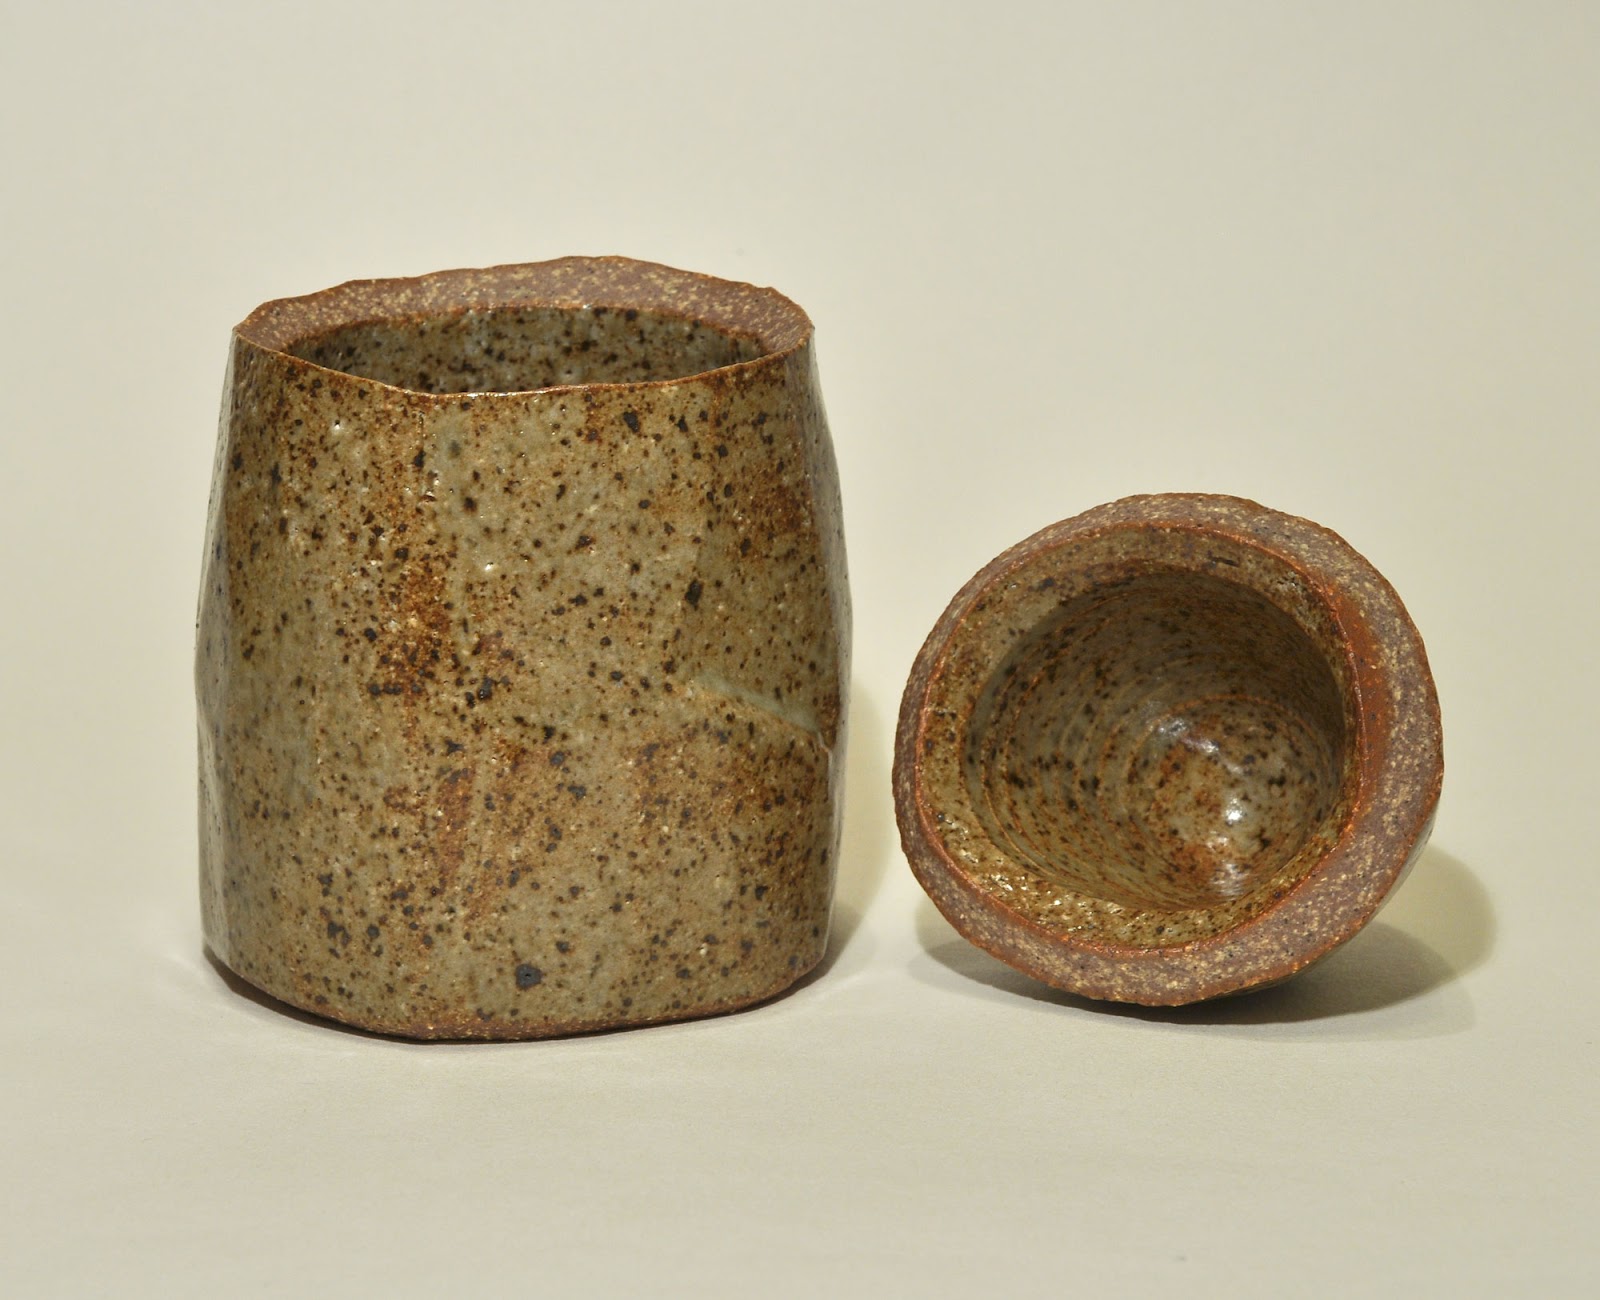
Here's the box with the stuck lid which is now unstuck..I'm very happy that it finally came off without any damage. To apply the glaze accurately around the lid edges, it was brushed on, hence there is some variation in texture and colour .. in this case, I think it works pretty well


lidded box, approx 5 inches tall


This carved shino cup is a bit too large to be a sake cup, so for me, it's probably more suited to red wine..it literally rocks as it's balancing on one edge of the base. Amazingly, it still stays upright (just) when full of liquid! Interesting too, how a small impression made with a thumb on the outside, has so much more impact visually on the inside..

shino spirit cup, approx 3.5 inches tall

shino spirit cup, shino glaze


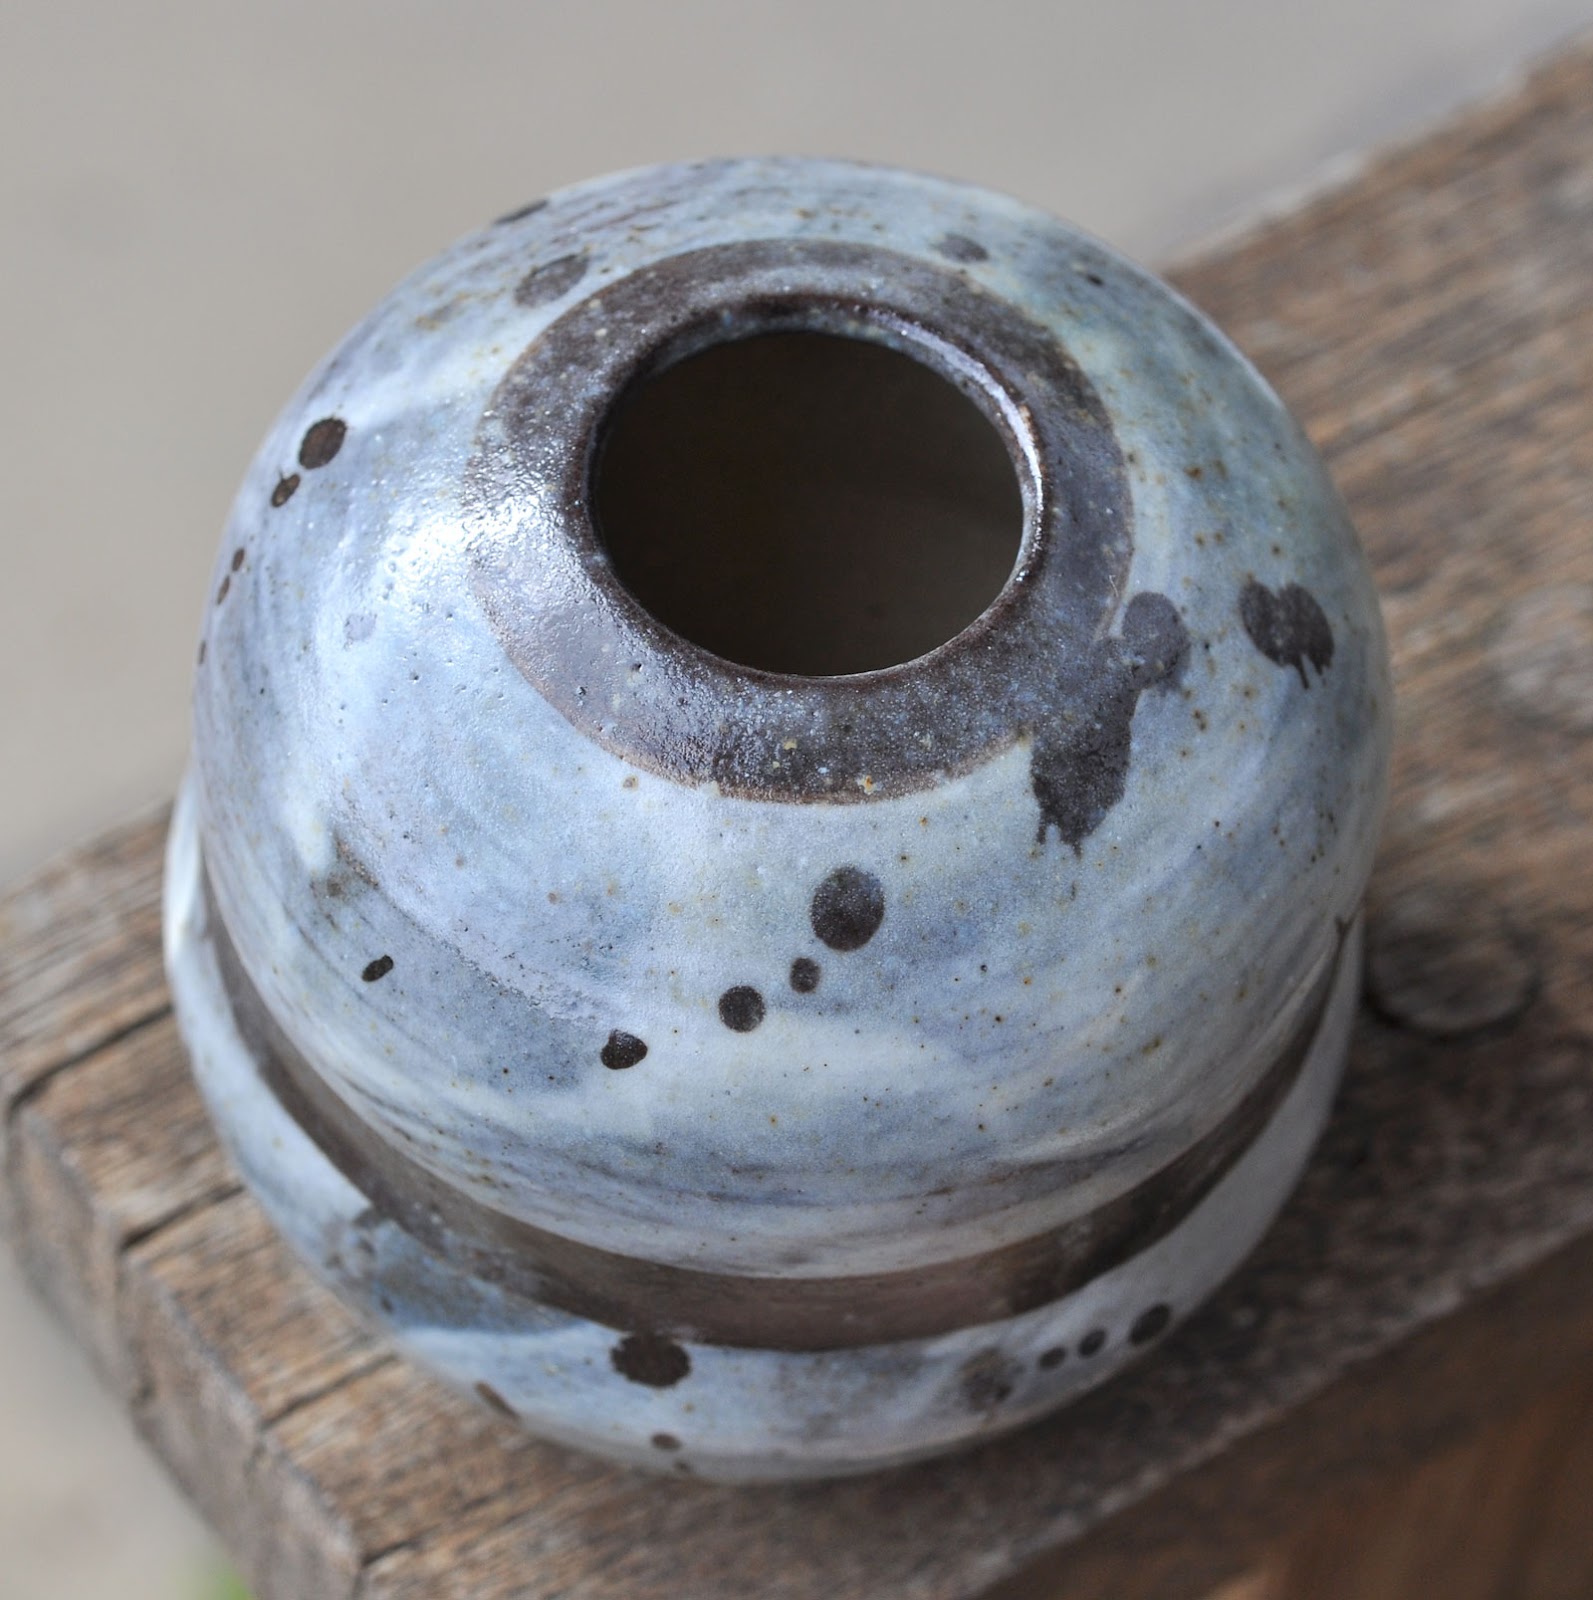
I was very pleased with the oribe glazes in this firing, they came out perfectly with no burst bubbles. Quite often, when I fire this glaze I will find a single, sharp-edged crater somewhere on the pot, as if placed there just to annoy me! In the case of this carved yunomi, the glaze was applied thinly, so the iron oxide spots have just bled a little rather than running down the pot.


Carved yunomi, approx. 4 inches tall

carved sake cup, approx 2.5 inches tall

Lastly, a shot of a couple of test pieces. I doodled on these with a fine brush, using different types of slip. The disappointing thing was that the lower temperature ash glaze tends to eat iron oxide from the black slip, like so many transparent glazes. I think this is because I added 6% frit, which contains quite alot of calcium oxide. The slip with very high iron content (on the right) has remained solid in places, and not in others..this comes down to painting technique and the consistency of the slip, something I need to work on. Should I be using an underglaze medium rather than just water, I wonder?

What I did like about these tests was the multi-layered effect..in some places there are four layers of slip decoration. I'd like to experiment more with these effects, the problem being how to brush decoration on without smearing the layer beneath. These test pieces were bisqued twice, with decoration added between the firings..not something I want to do with every pot I make!


Wednesday 6 June 2012

Finally, some decent reduction!

I changed my mind about not firing with the saggar this time. Mainly because I had a eureka moment and figured I could coat the bottom of the saggar with sodium silicate, which might keep the oxygen out. I gave the ceramic fibre a couple of coatings and effectively glued the base of the saggar down with it. Then I put an inch layer of sand on top of the fibre. Actually, it's proved to be alot more trouble than making a container with a clay bottom, but maybe it won't crack as quickly, we'll see..

The good news is that I achieved enough reduction and the pots in there came out pretty well, imho.
Only taken a couple of pics so far but here is one of the shino sake cups and one with ash glaze:


I also have a nice lidded box but I've yet to be able to get the lid off. Experience has taught me to be patient when it comes to removing stuck lids..too much forcing and chips start to fly off..

The oxidation part of the firing was okay too, although my test pieces were a bit disappointing. I'll say a bit more about that later.